Who We Are
We Deliver Complete Solutions from Foundation to Finish
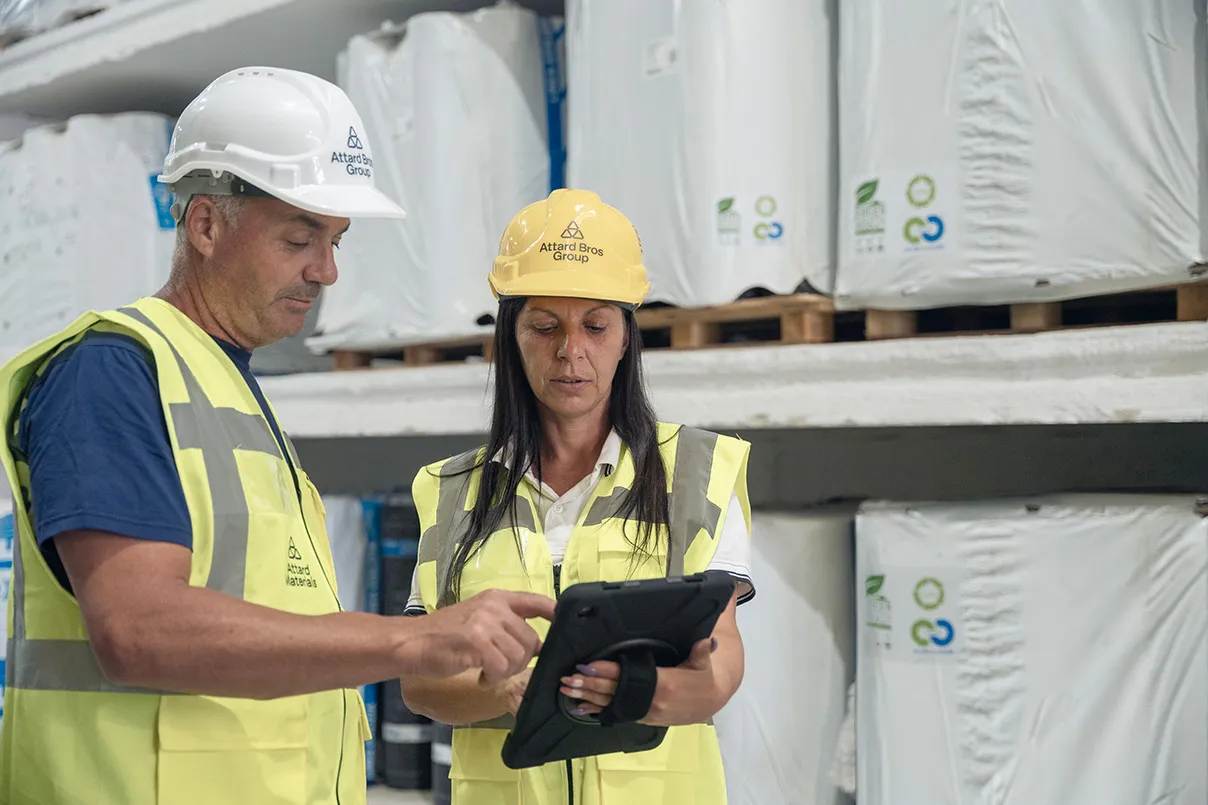
At the forefront of the building & construction industry.
Since 1977, Attard Bros Group has been at the forefront of the building and construction industry, continuously evolving to meet the needs of our partners and clients.
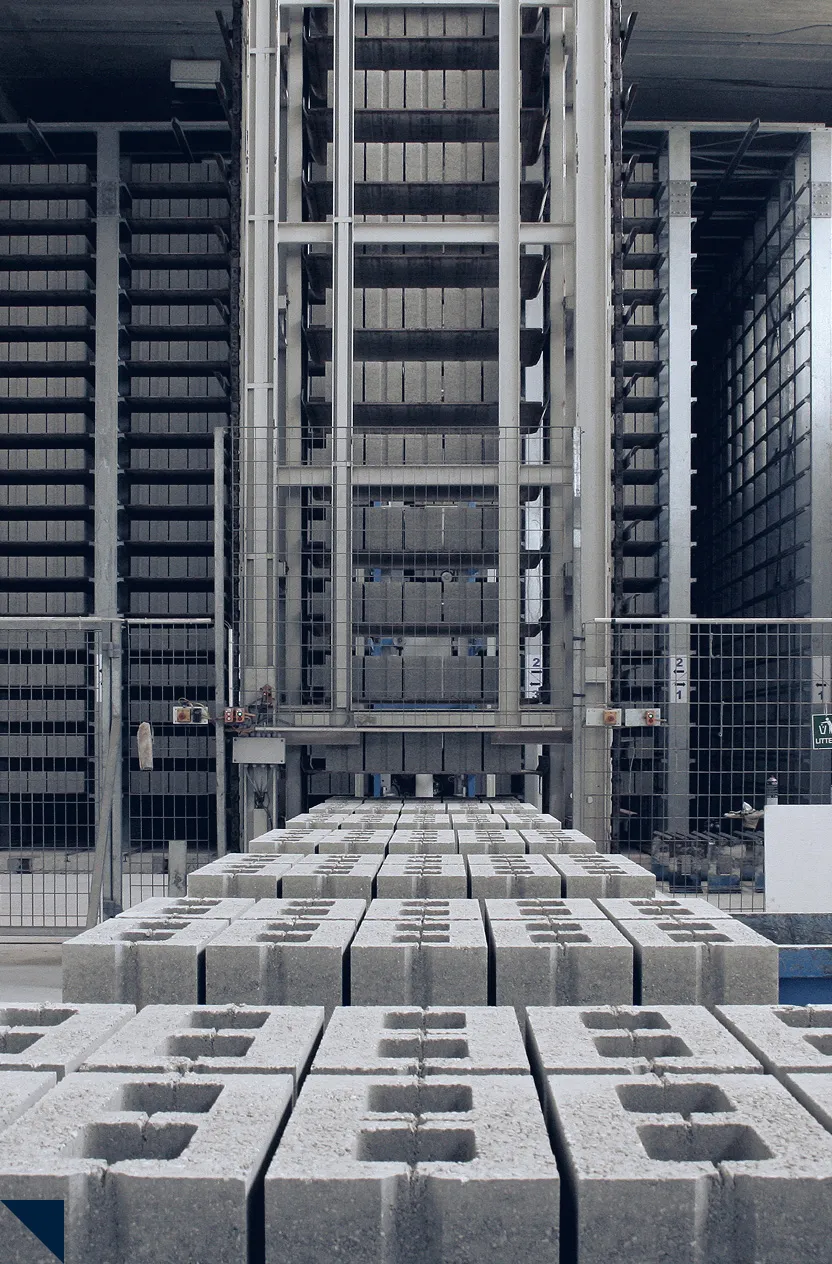
Operating from our central 40,000-square-meter facility in Ta’ Qali, we provide end-to-end solutions tailored to every project.
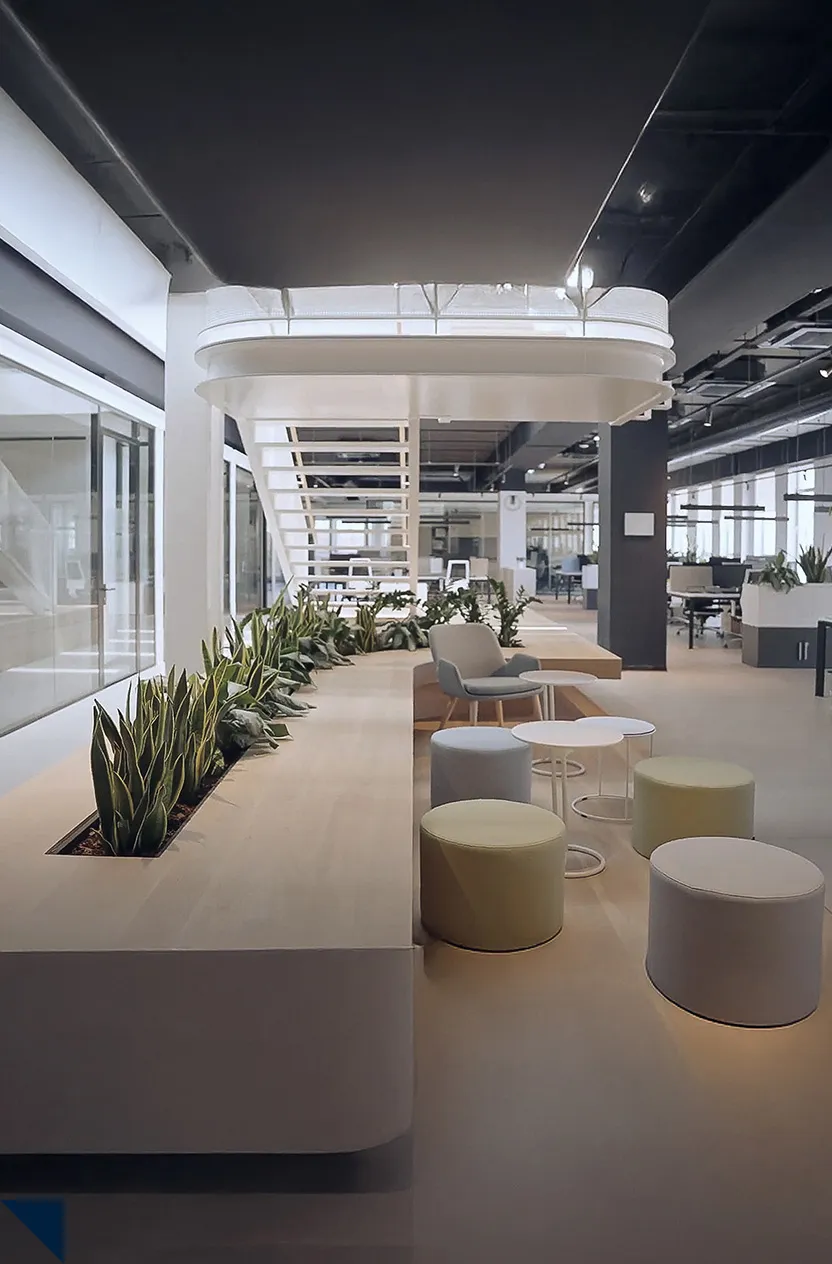
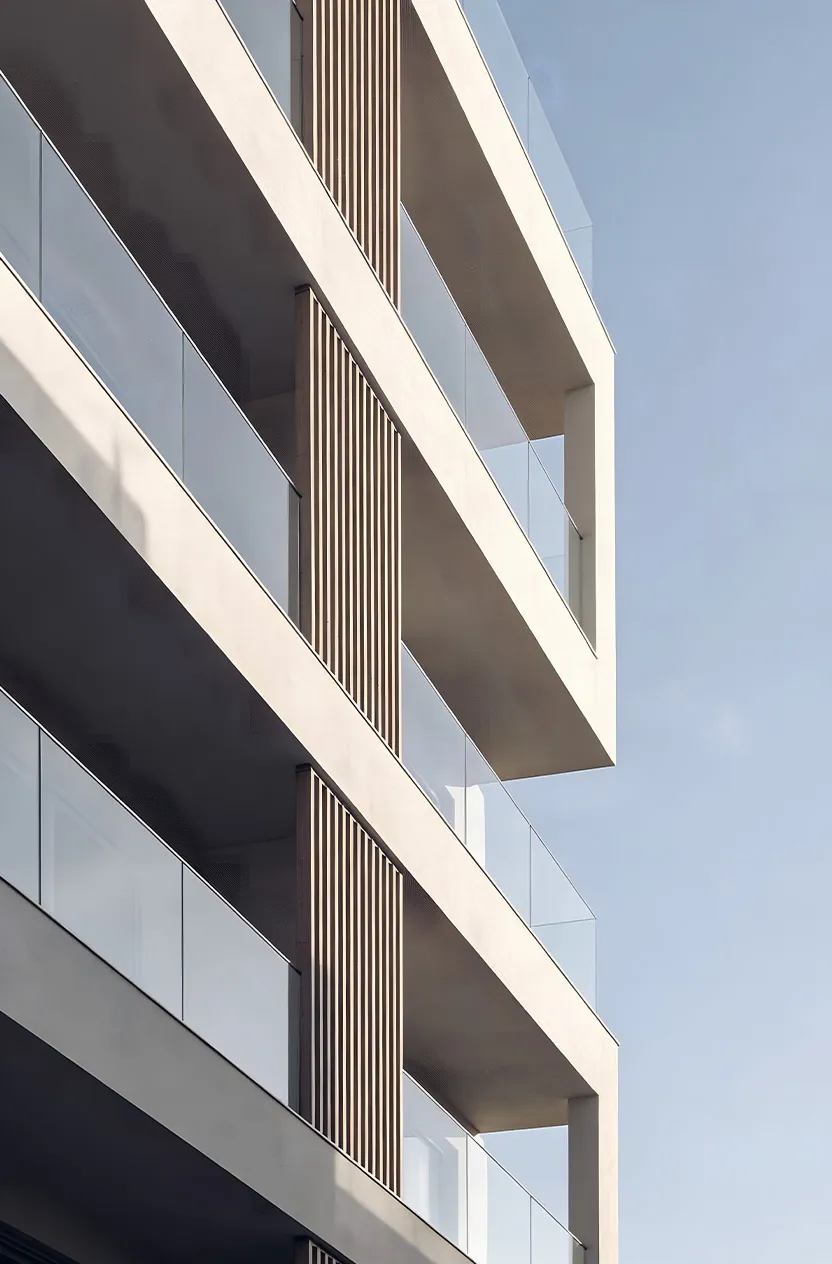
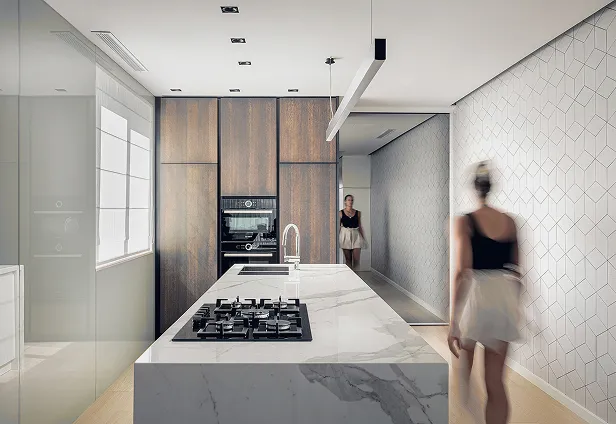
Whether developing landmark properties, managing large-scale projects, refining interiors with precision fit-outs, or supplying premium building materials, our focus remains the same: delivering the highest standards with integrity and expertise.
Operating from our central 40,000-square-meter facility in Ta’ Qali, we provide end-to-end solutions tailored to every project.
Whether developing landmark properties, managing large-scale projects, refining interiors with precision fit-outs, or supplying premium building materials, our focus remains the same: delivering the highest standards with integrity and expertise.